GateBud
Help · Set up GateBud, start to finish
Set up GateBud, start to finish
This is the whole setup in one go, in the order that works. Do it once on your first site and the rest are quick copies. Allow about an hour.
Work top to bottom. The account-wide settings come first on purpose, because they decide what happens to every record you create afterwards. GateBud™ ticks the Getting set up checklist on your Dashboard off as you go.
1. Set how long you keep visitor names
Go to People & access, then the Settings tab. This is the most important setting in GateBud, and it is already switched on.
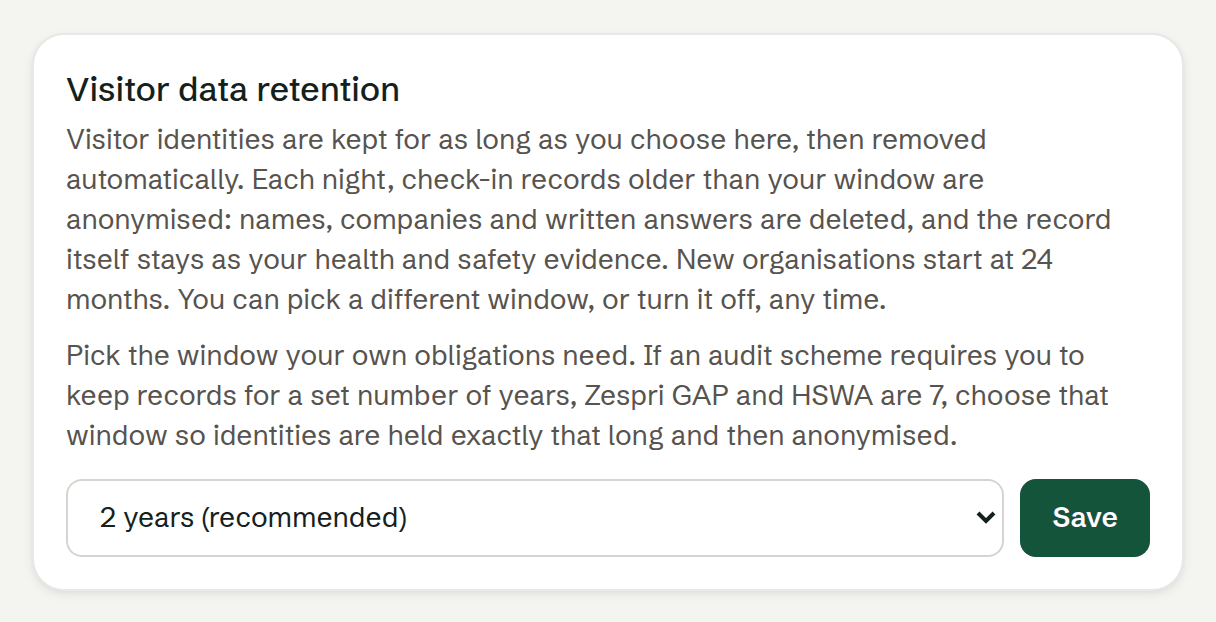
New accounts start at 24 months. That means check-in records older than 2 years are anonymised automatically each night: names, companies, written answers and any sign-out notes are removed, and the record itself stays as your health and safety evidence.
Your choices are 6 months, 1 year, 2 years (recommended), 7 years, or Keep identities forever.
2 years suits most operations, but pick what your own obligations need. Zespri GAP and HSWA both ask for 7 years, so choose that if either applies to you. Only an admin can see or change this.
Decide it before you collect real check-ins. Changing it later is fine, but anonymising is permanent, so shortening the window will strip names you might have wanted to keep.
2. Add your company name and logo
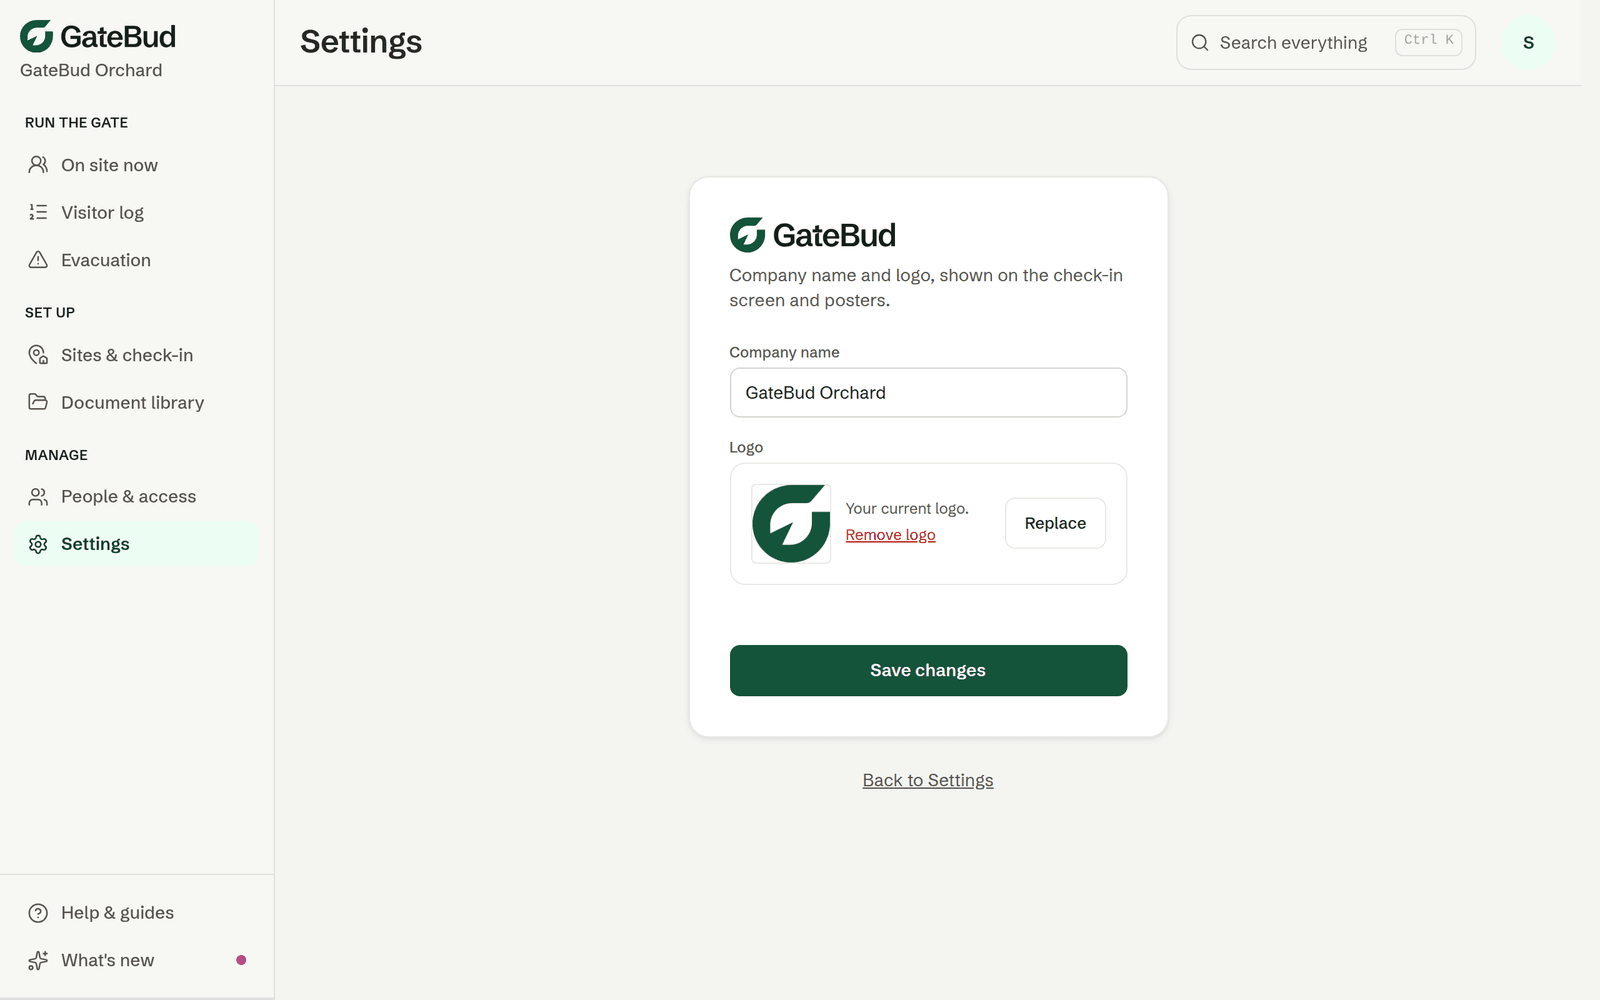
Go to Settings, then Branding. Add your company name and drop in your logo, PNG or JPG up to 5 MB, square works best. It appears on your check-in screen and posters, so visitors know they have scanned the right gate.
3. Build your documents once
Go to the Document library. These are the things a visitor must see when they arrive: site rules, an induction sheet.
Create each one here, not on a site. Write it in GateBud with headings, paragraphs and bullet points, or upload a PDF or a picture. There is more detail in the document library.
Build them before your sites, since the next step is where you attach them. One document can be shown at as many sites as you like, update it here and every gate shows the new version.
4. Create your first site
Go to Sites & check-in and tap Add site. Give it the name people actually use for that entrance, for example "Main packhouse gate", not an internal code. Visitors see this name on their phone. Only the name is required, but the address, check-in instructions and an emergency contact are all worth the extra minute.
Then set up the two things that shape what happens at the gate:
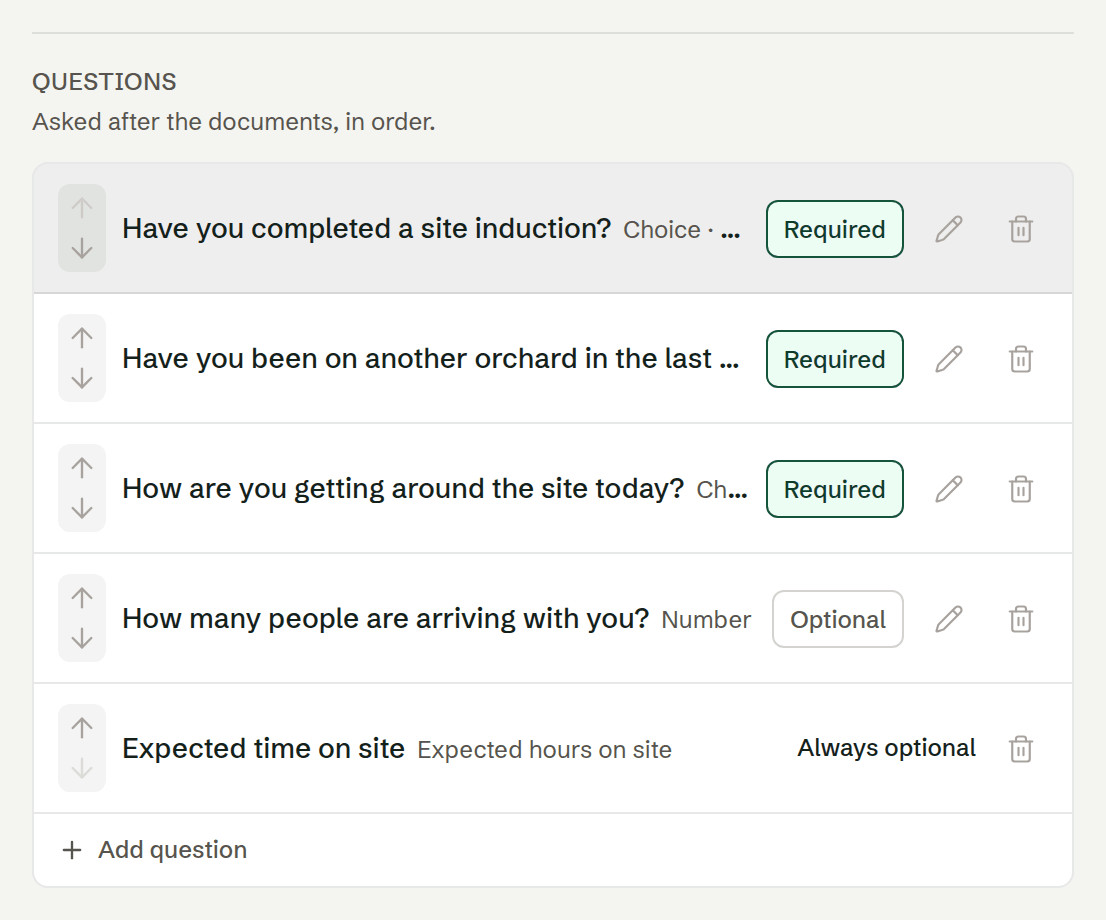
- Questions. What every visitor answers here. Keep the list short. Three to five gets honest answers, fifteen gets guesses. Yes or no questions are fastest in the rain.
- Documents. Attach the ones from step 3 that apply to this gate. Anything marked Required must be read and confirmed before check-in. You can also add a site map here, there is a slot just for it.
The right-hand side of the site page shows a live preview of the poster and of exactly what a visitor will see. Read it once before anyone scans. Sites, questions and posters covers every option on this page.
5. Set this site's automatic check-out
Still on the site page, in the Settings tab, find Auto check-out. This is per site, so a busy gate and a quiet block can behave differently. A new site starts at 24 hours, so you are covered from day one, but check the number suits your gate.
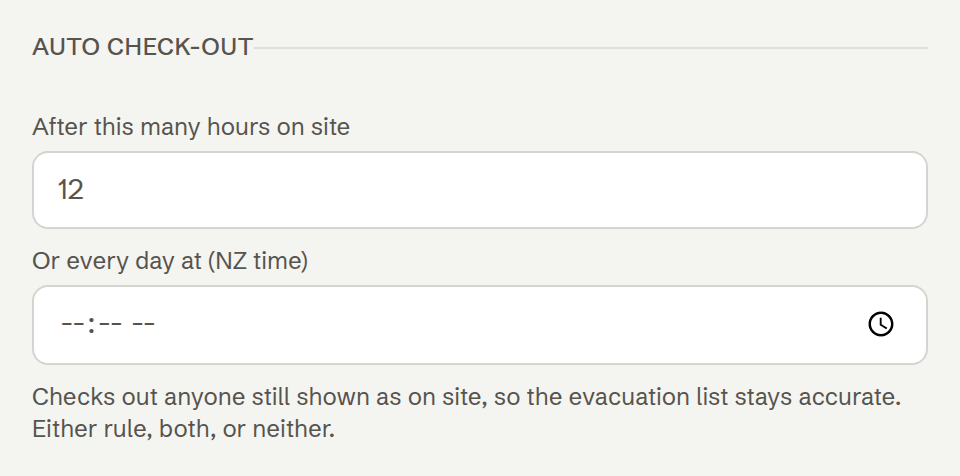
Anyone still showing as on site after that long is checked out for you. That is what stops people appearing to be on your orchard overnight, which would make both your Dashboard and your evacuation list wrong.
You have two ways to set it, and you can use either or both:
- After this many hours on site. Counts from when each person checked in. Good for a gate where people come and go all day. Leave the box blank to switch this rule off.
- Or every day at (NZ time). A daily cut-off on the clock, for example 7pm, when the site is definitely empty. Good for a gate that closes at a known time.
Set the hours long enough to cover your longest genuine day. If it is shorter, you will check out people who are still on site. An automatic check-out is marked as automatic on the record, so it is never confused with someone actually signing out.
6. Test it without making a real record
Before you print anything, open the preview: the eye icon on the Sites & check-in list, or Open check-in on the site's page. You can walk the whole visitor form end to end and nothing you do is recorded. A banner across the top confirms it.
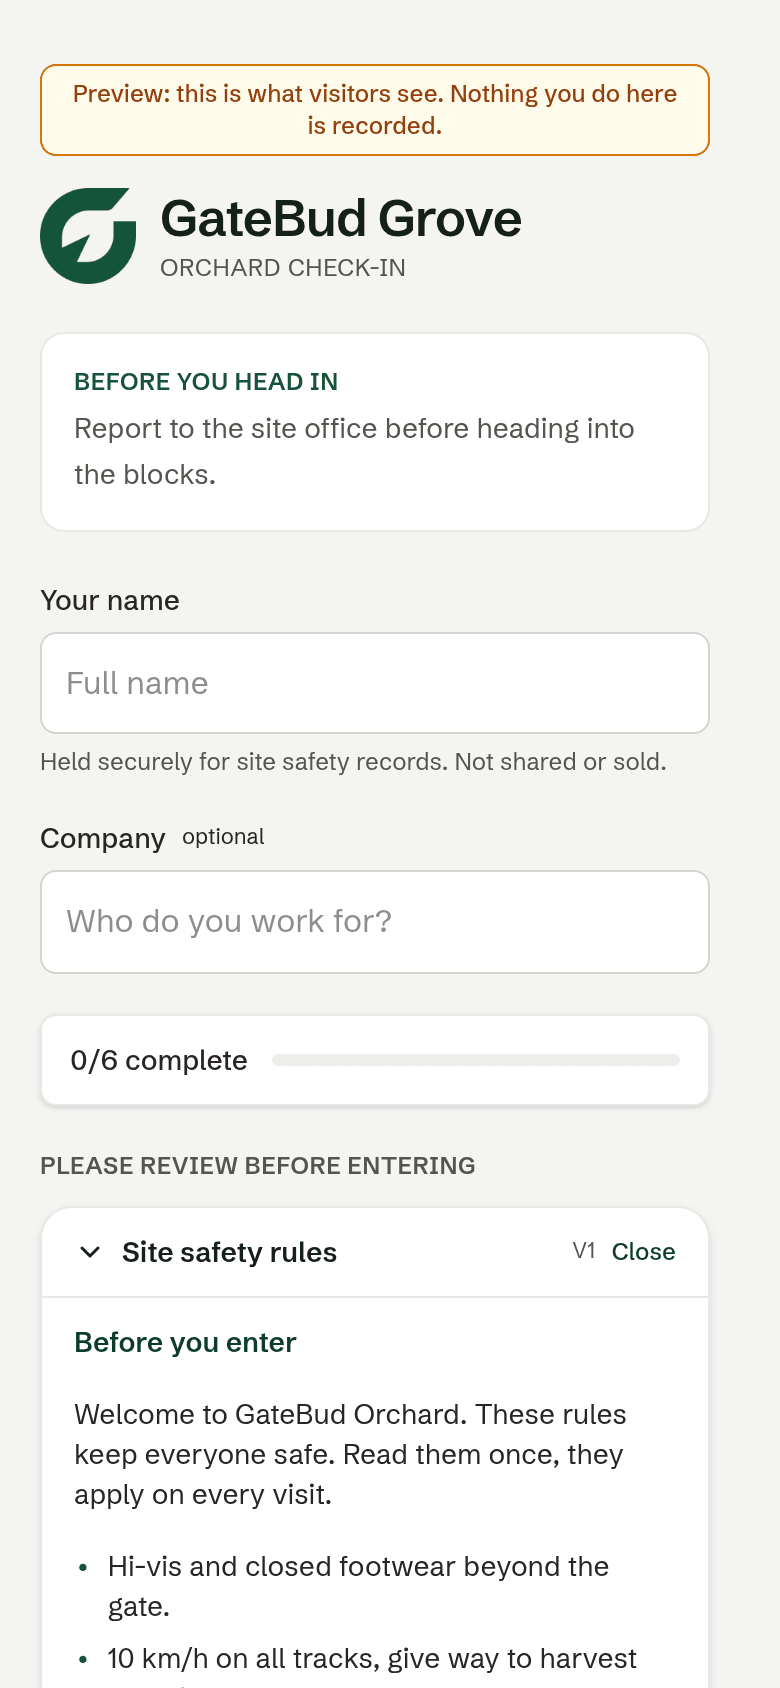
Go through it as a visitor would. Check the questions read well, the documents open, and the required ones make you tick the box.
This is the step people skip, and the cheapest one to do. Fix a badly worded question now, not after 200 people have already answered it.
7. Print the poster and do one real check-in
Open the site's poster page (the QR icon on the sites list). Pick a sheet: Poster, QR (light print), Two-up A5, or Nine-up tags, then Print or save poster (PDF). Print at A4 or bigger and laminate it or sleeve it. Rain and sun will kill a paper code in weeks. Put it at eye level where people stop when they arrive.
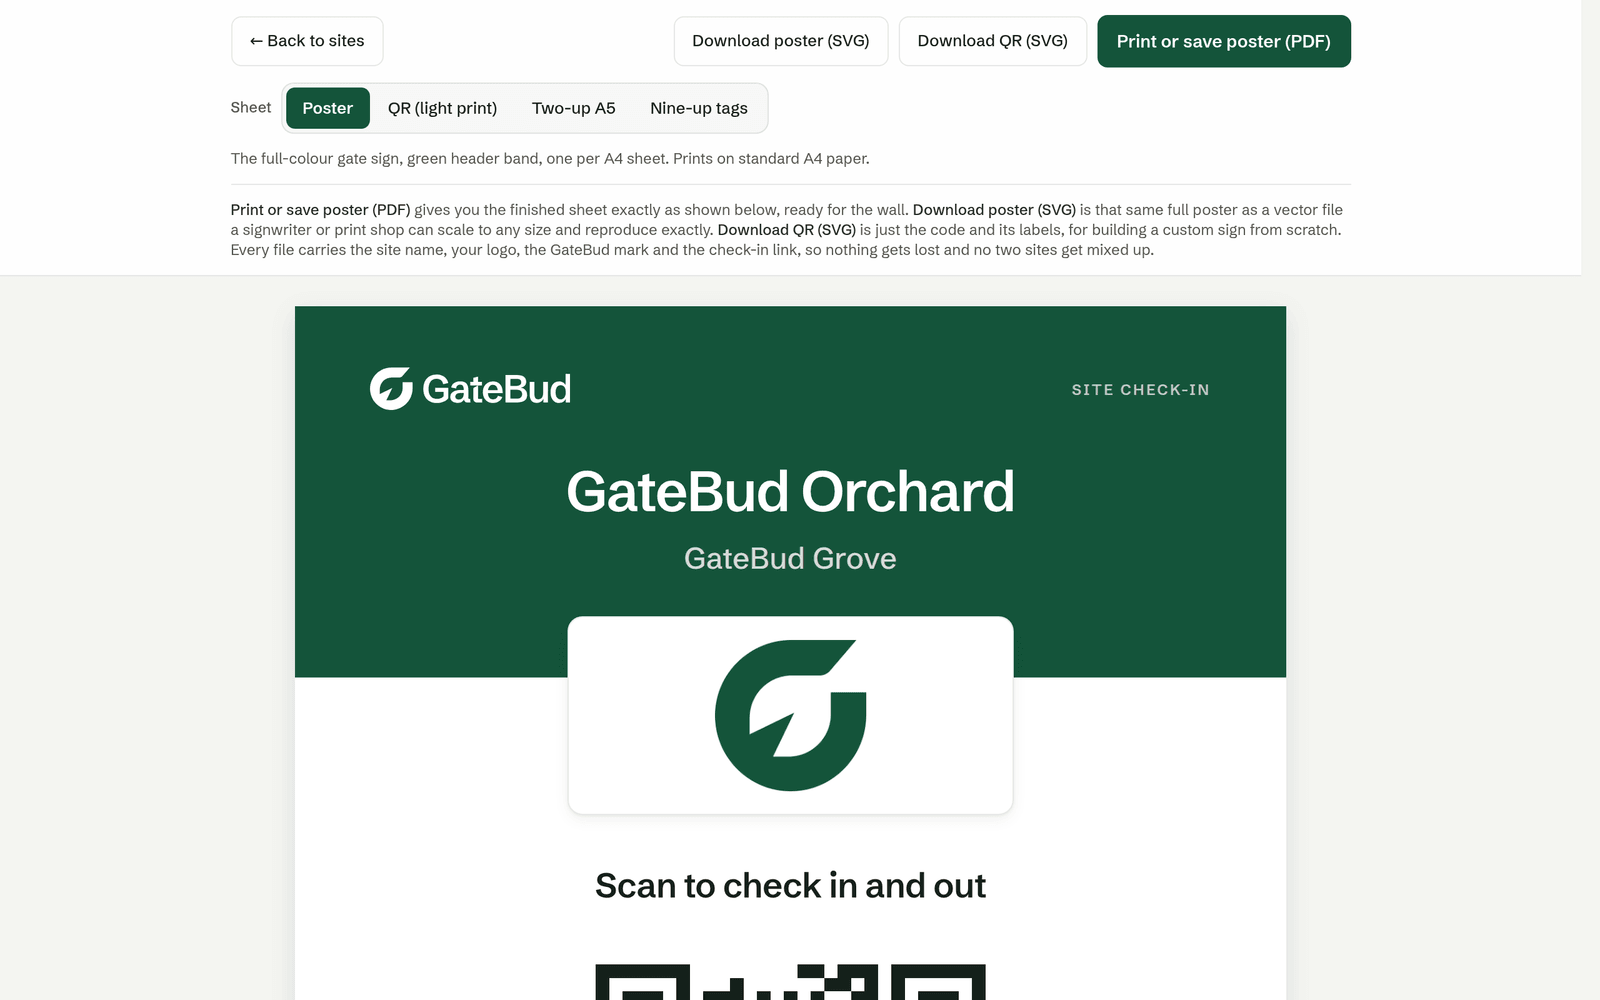
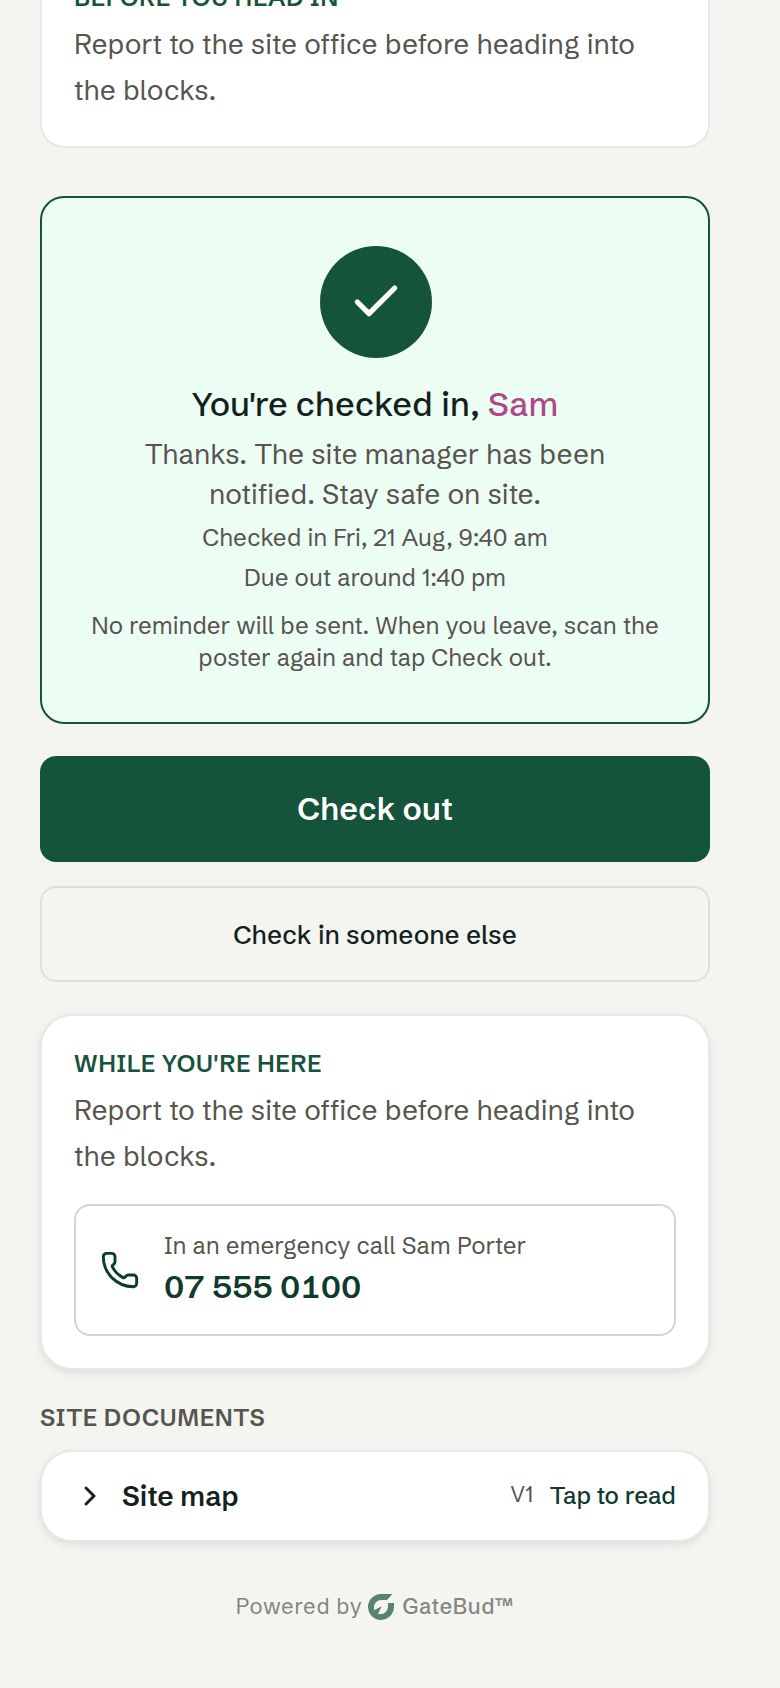
Now scan it with your own phone and do a real check-in, using your own name so you can find it later. This one counts, which is the point.
Then open the Dashboard. This is the screen you will actually live in, so take a minute on it. You should see yourself appear under your site within seconds, with when you arrived and how long you have been on site. The Dashboard guide walks the whole screen.
Each site has its own poster and its own code. Never move a poster to a different gate, or check-ins get recorded against the wrong site.
8. Check yourself out, both ways
Try each route once, so you know what your team will be doing.
- As the visitor. Scan the poster again, or reopen the page. Your phone remembers your check-in and offers a Check out button.
- As the admin. Find yourself on the Dashboard and use the Check out button on your card.
People forget constantly, so the admin route is the one you will actually use. Anyone who looks stuck on the list is flagged as an Overdue check-out, and signing them out from the Dashboard lets you add a note, for example "left at smoko, forgot to sign out". The note stays on the record.
9. Correct a time on your test record
Go to the Visitor log and find your test check-in.
Records here are deliberately permanent. Nobody in your organisation, including you, can quietly edit or delete one, and that is exactly what makes them worth anything as evidence.
What you can do is record a correction. Tap Fix times, change the time, give a reason. The original time is kept alongside the corrected one, with who changed it and why, and the row is marked as edited from then on. Nothing is overwritten and nothing is hidden.
Do this once on your test record so you have seen what an auditor would see. Then open the row and look at what else is stored: the answers, the documents acknowledged and which version was read, any sign-out note.
10. Anonymise the test record
Last step, and it doubles as your answer to "please remove my details". Still in the Visitor log, on your test row, choose Anonymise.
Your name, company, written answers and any sign-out note are removed. The record itself stays, so your check-in history and your compliance evidence are intact. This cannot be undone.
There is also an Anonymise old records option at the bottom of the Visitor log, which does the same thing to everything older than a date you choose. It will not accept a date less than seven days ago, so you cannot wipe this week by mistake. Treat it as a once-a-year tool. The nightly automatic anonymising from step 1 is what you should rely on day to day.
That is the full loop
You have set your retention, added your branding, built a document, stood up a site, set its automatic check-out, tested it safely, taken a real check-in, watched it on the Dashboard, closed it out, corrected it and removed the identity from it.
Everything after this is quick copies: once the first site is right, Create similar sites on the sites list builds your other gates from it in one go, and Copy settings pushes changes out to sites that already exist. For getting your gate staff on board, see sites, questions and posters.
Need a hand?
Email support@gatebud.com. Include the site name and a screenshot if you can.